 My love of being creative and making things started when I was little and would make mud pies in the back yard. It’s taken a lot of dabbling in different creative projects to discover what my favorite art forms really are and what my favorite thing to create is. My most loved creative pursuits today are the ones I really just stumbled upon and thought “Huh, that’s cool. I want to try that.” Funny, they ended up all having a common thread throughout: paper, ink, and letters/words. Not that surprising seeing that I’m a writer and I’m just drawn to these things.
Bookbinding was one of those very art forms I bumped into, got curious about, bought a book on, and just started taking a whack at. When I randomly decided to add them to my Etsy shop, I never expected to get custom requests from customers wanting the journals personalized. It was a very sweet surprise and a good reminder for me to share my creative gifts with others, and not to be so concerned that I wasn’t a professional or “good enough” to be on the market.
So, I thought I would share a little bit of this process with you, and give you a little bit of an inside look into the very basics of this craft through a recent custom project I completed.
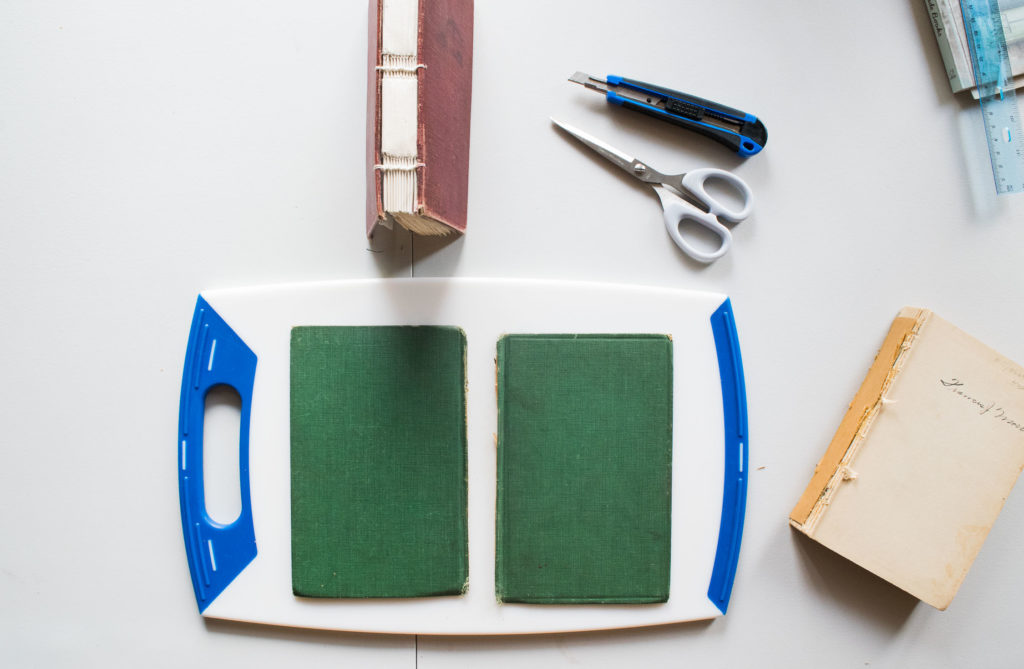
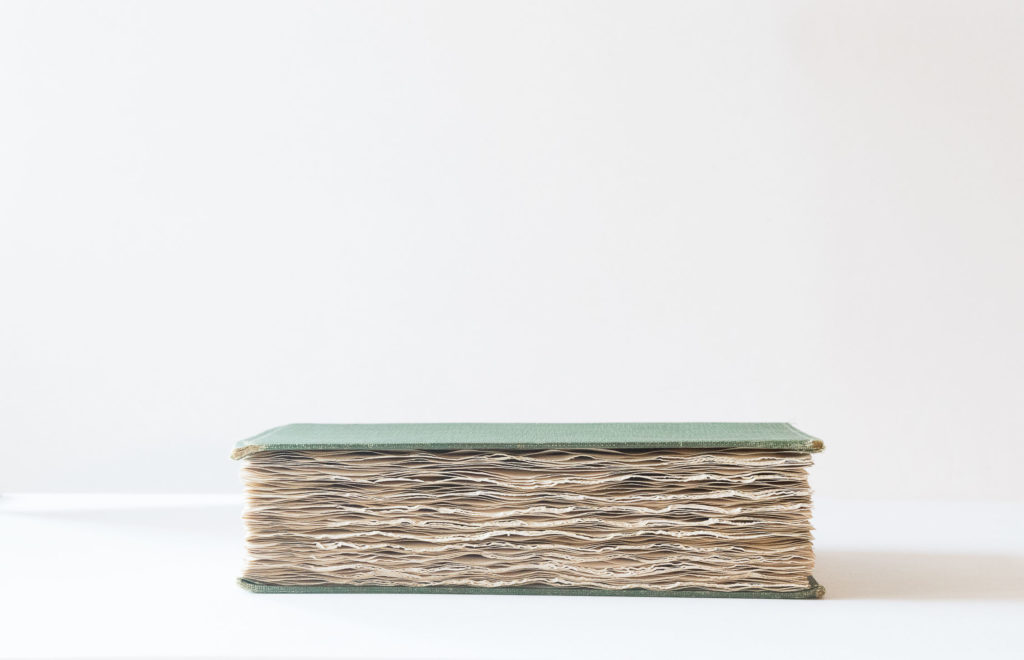
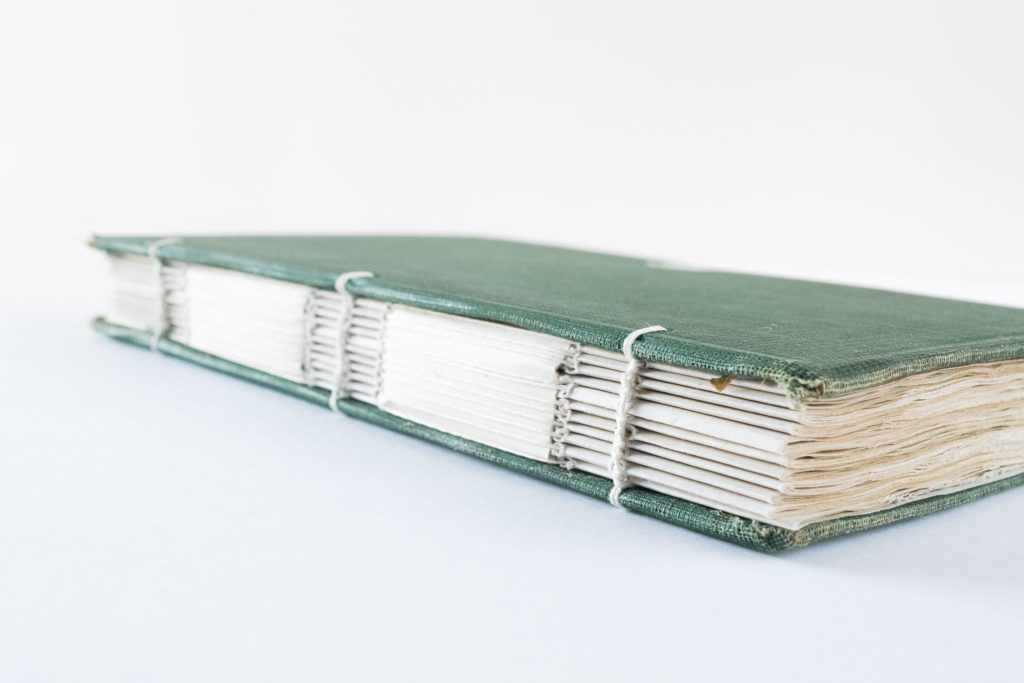
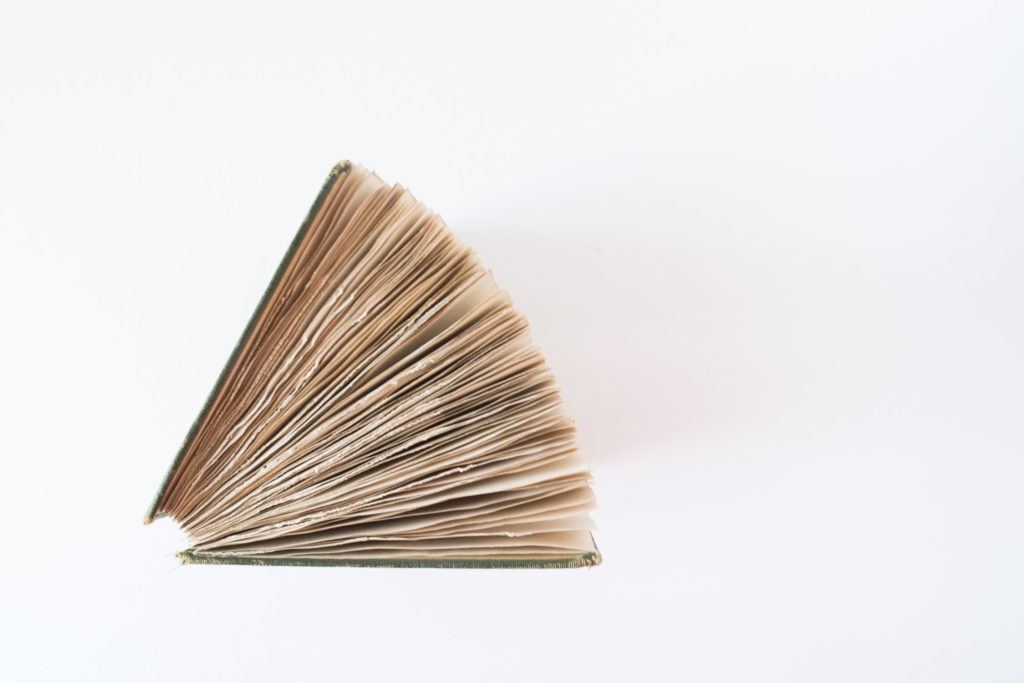
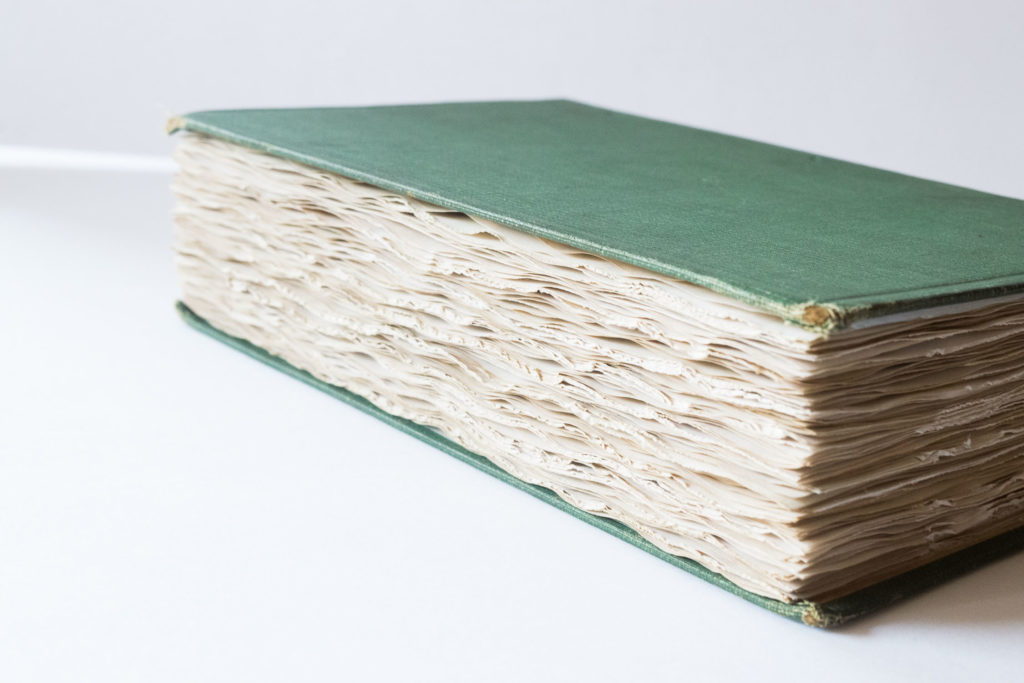
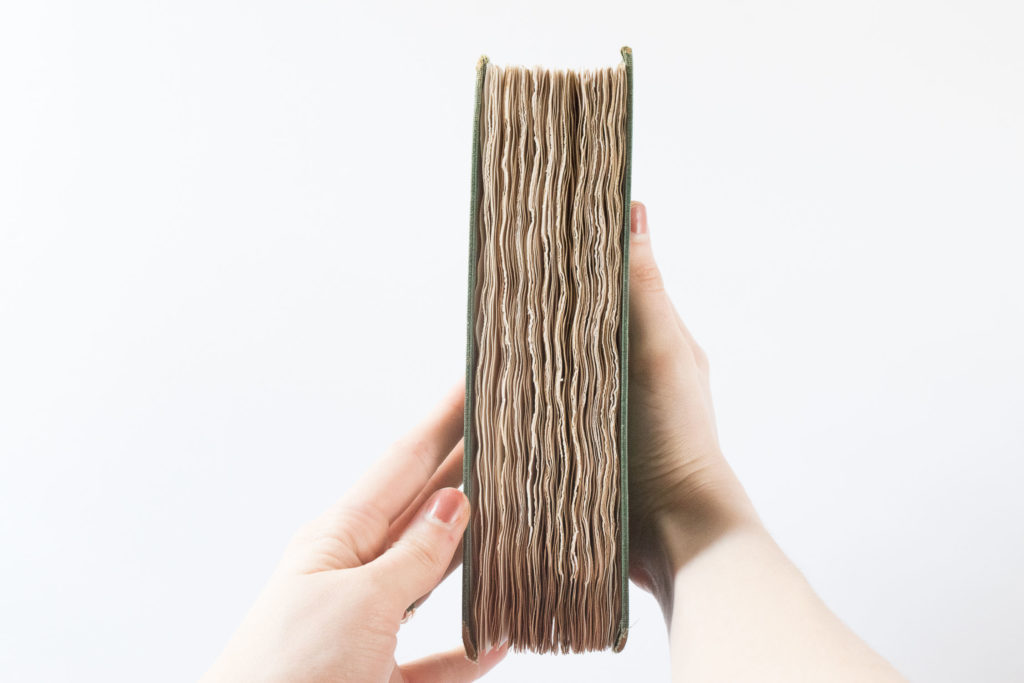
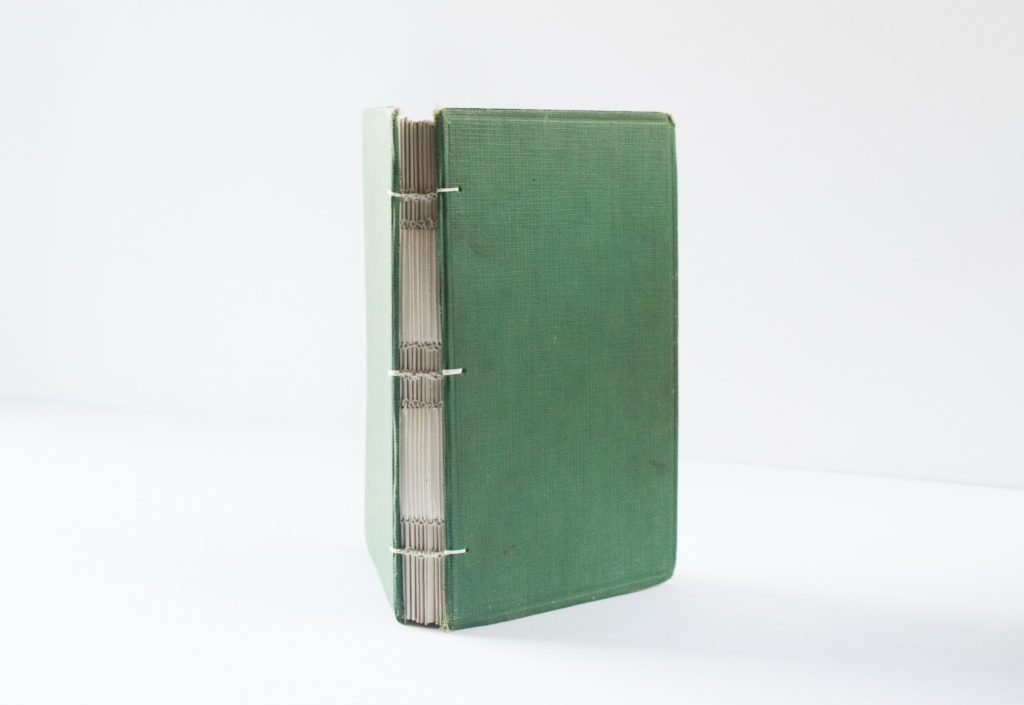
I started with a vintage book I found at an antique mall in NC a couple summers ago. I was immediately drawn to it’s juicy green covers and the amazing distress marks it had on the corners, and it was an adorable size to boot. The content of the book was kinda boring, so I had no problem freeing it from it’s covers so I could put them to a better use. I had these covers in my stash for a while, just waiting on the perfect project to come along, and it did. This step of the process is quickest and easiest, so I like to enjoy it before I get to the more technical and complicated part of the project.
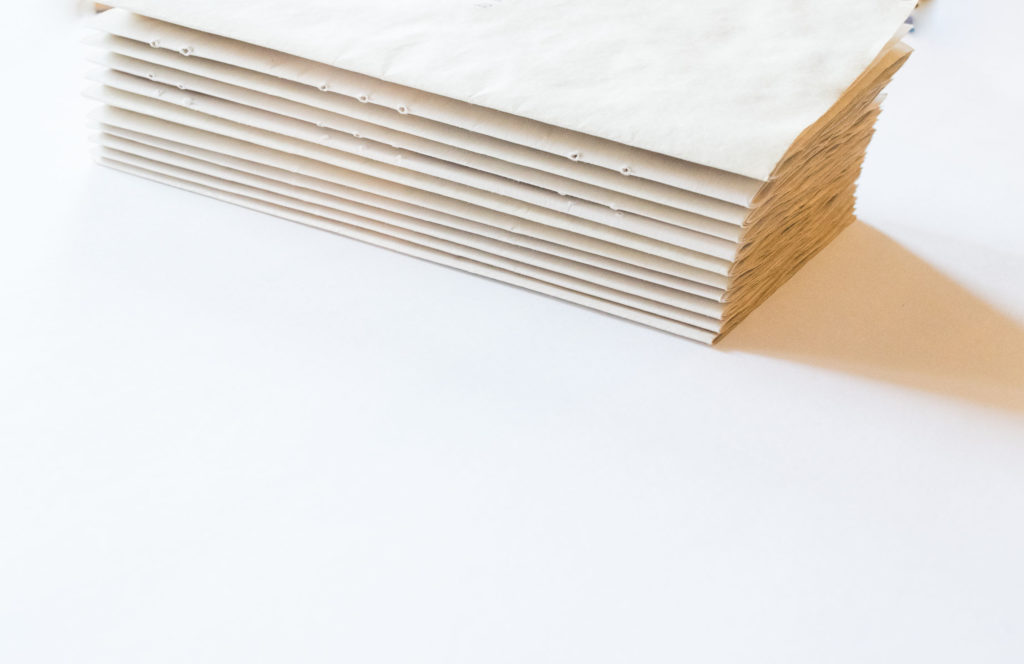
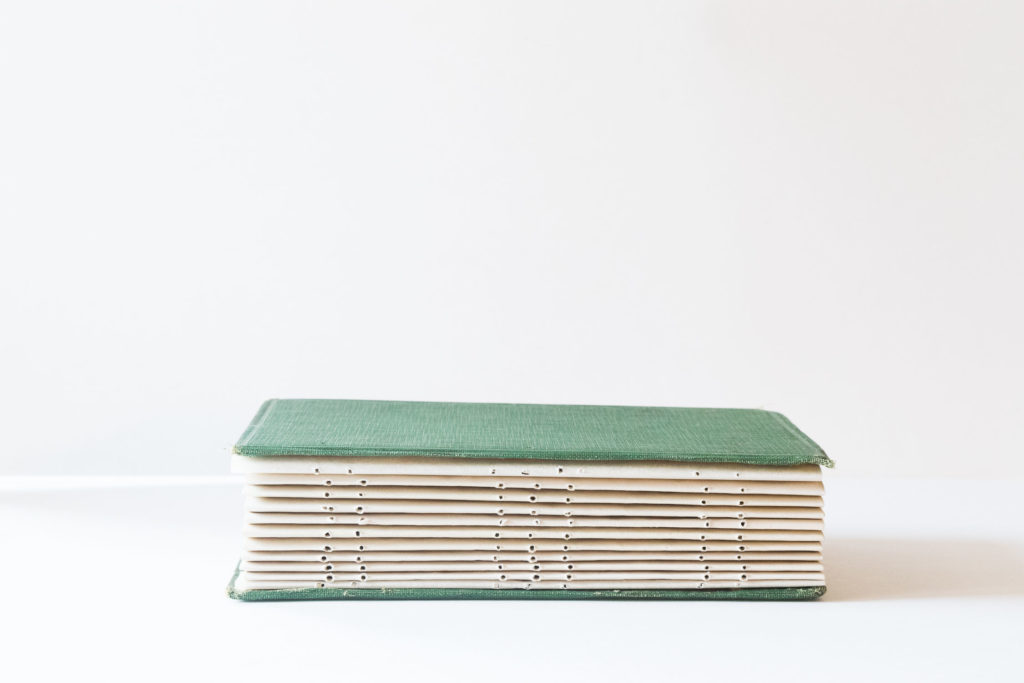
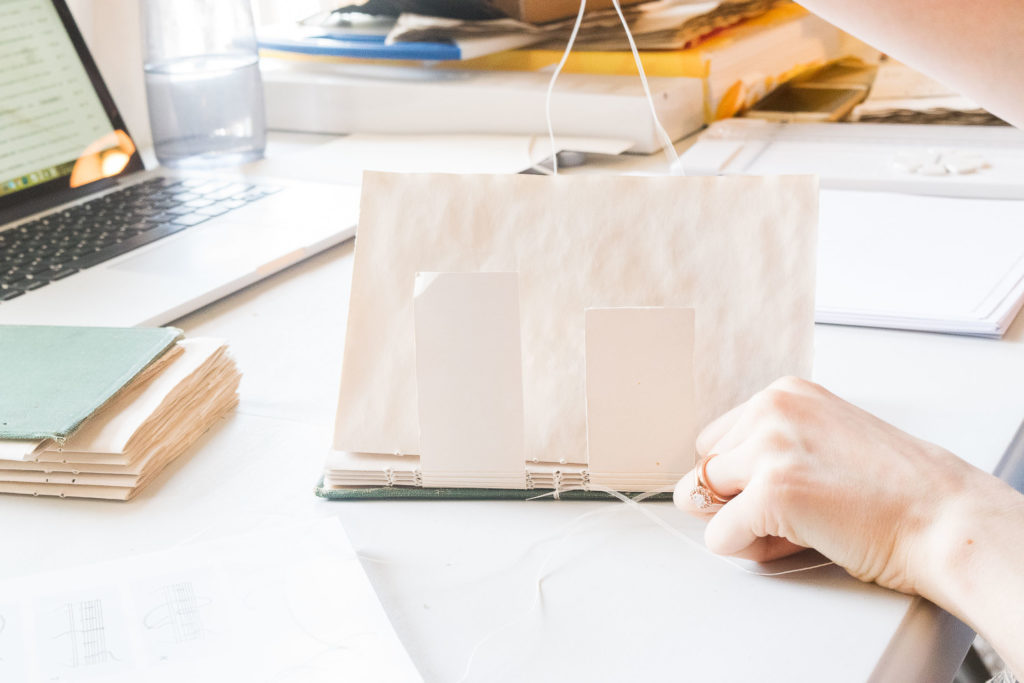
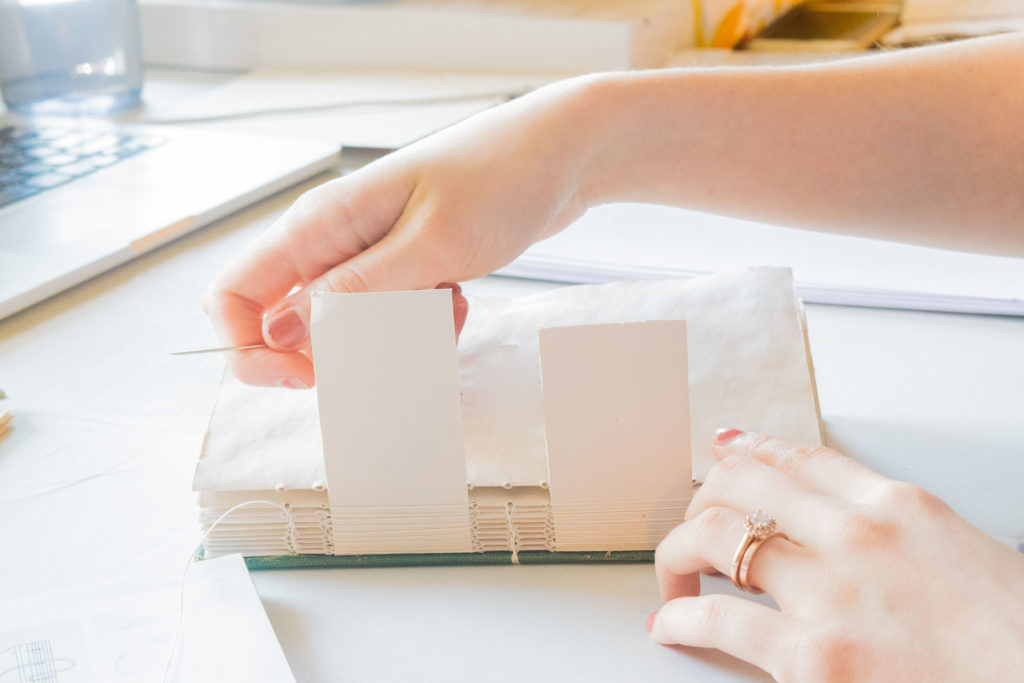
Next, I cut all my pages to size, fold them with a bone folder to get a firm crease and form them into groups of 5 making “signatures”. Then I get out my awl (basically and old-fashioned hole punch) and I punch through the crease of each set of 5 along a customized guide, so that all the holes match up and are uniform.At this point they are all ready to be stitched together and become an actual book.
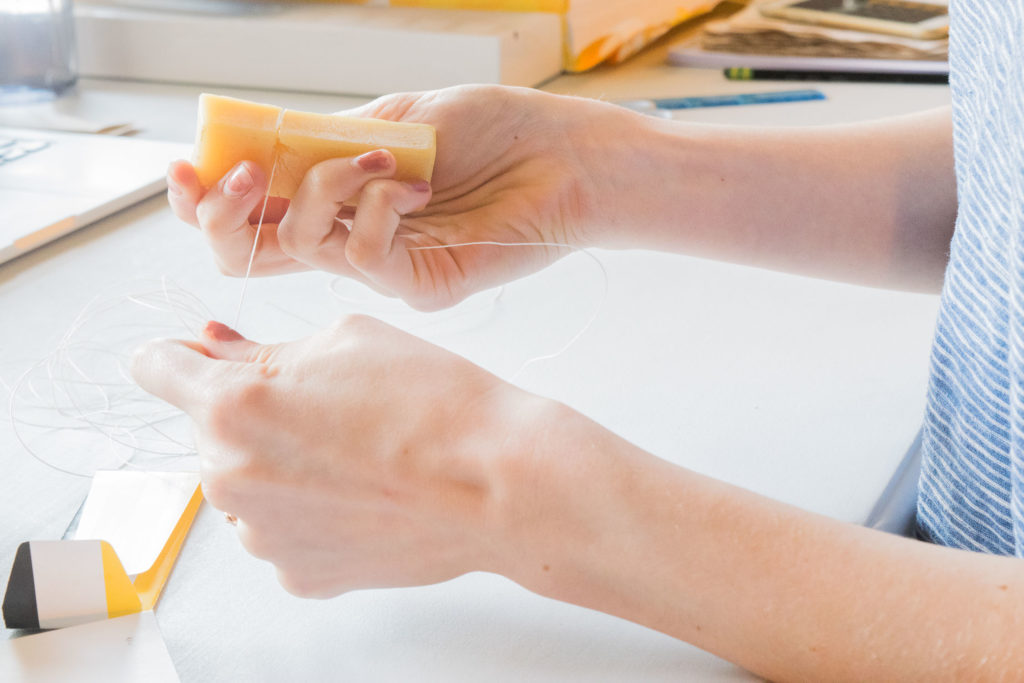
Before I get into the fun of the stitching step though, it’s essential to prepare the thread for binding.
By running the thread over a bar of beeswax it gives the fibers a smooth passage into the holes of the pages, and prevents the thread from getting tangled and ending up in knots. Can I just insert here as well that the smell you get from this stage is just the best, it’s one of my favorite parts for sure.
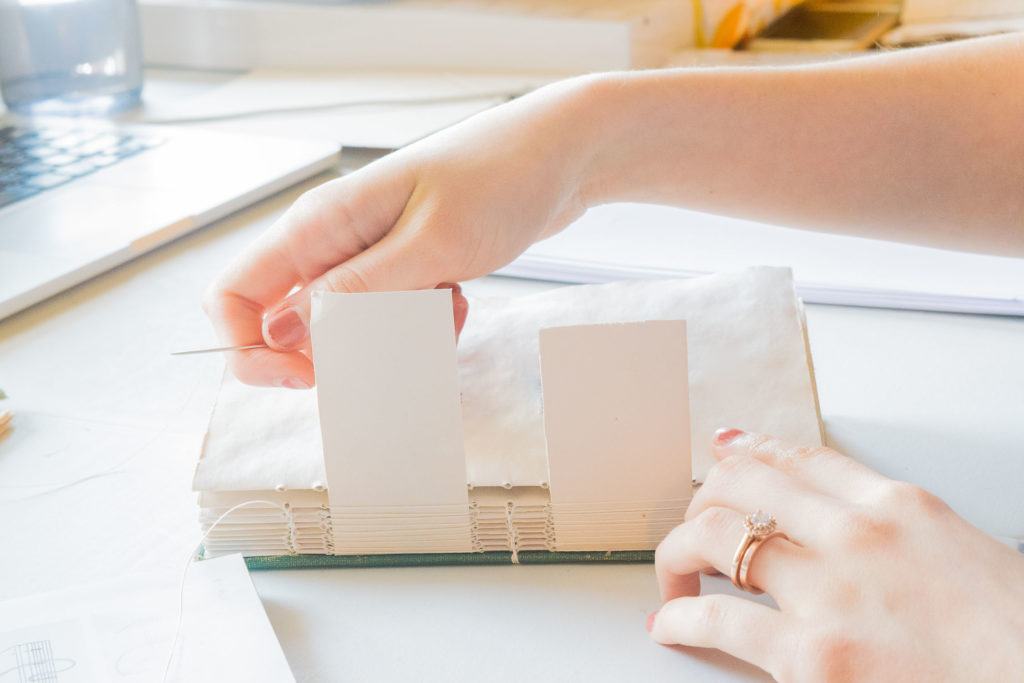
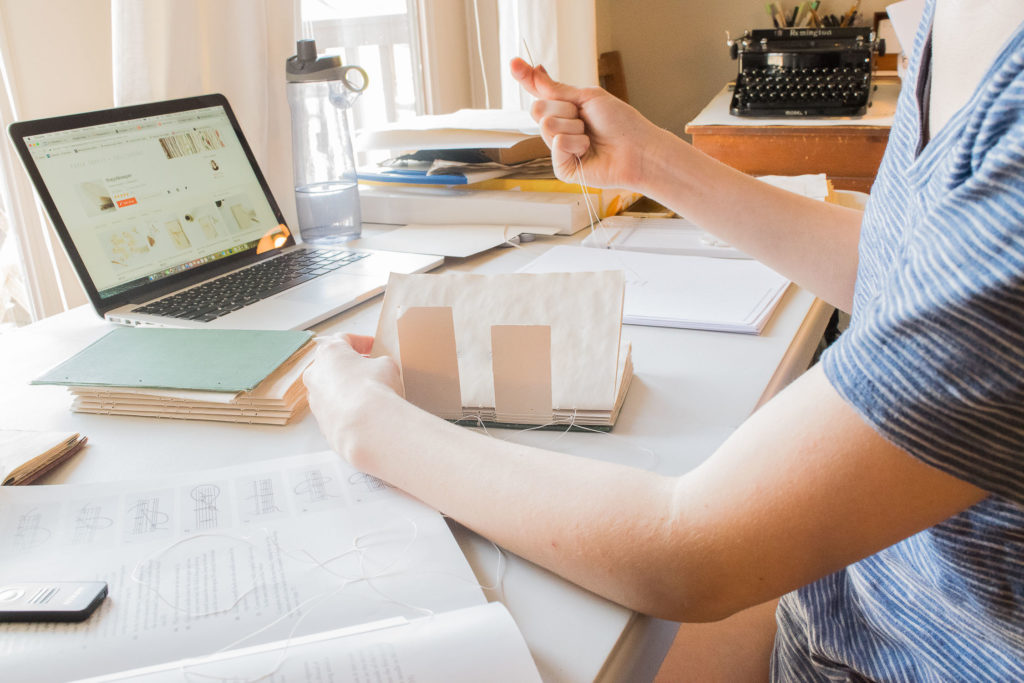
The thread is now prepped and threaded into the needle, and it’s time to get into the step that binds this all together…literally.
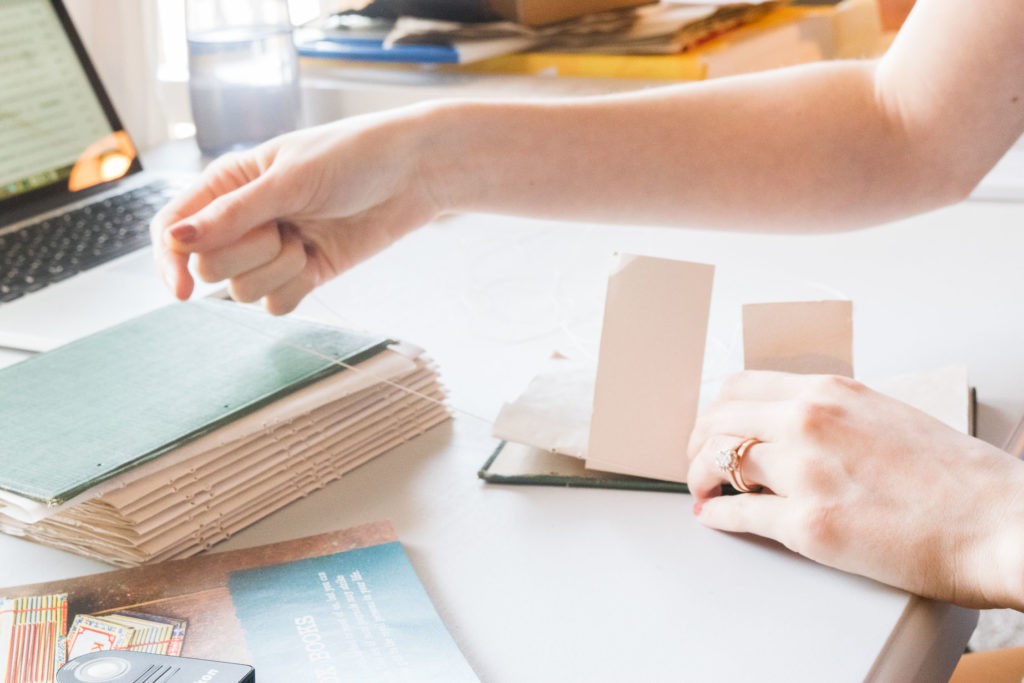
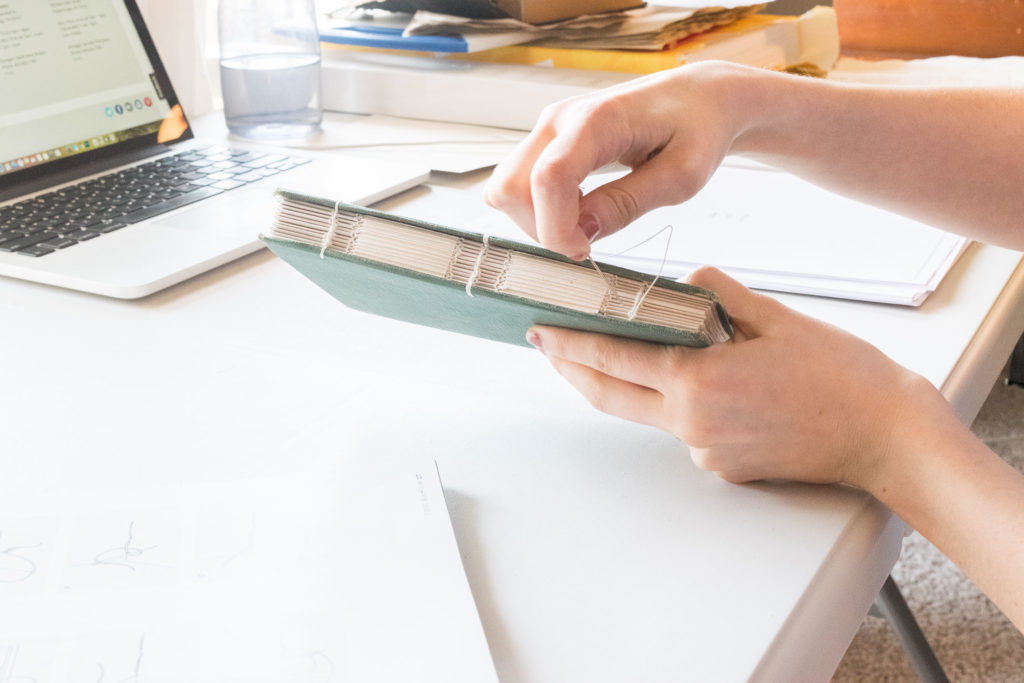
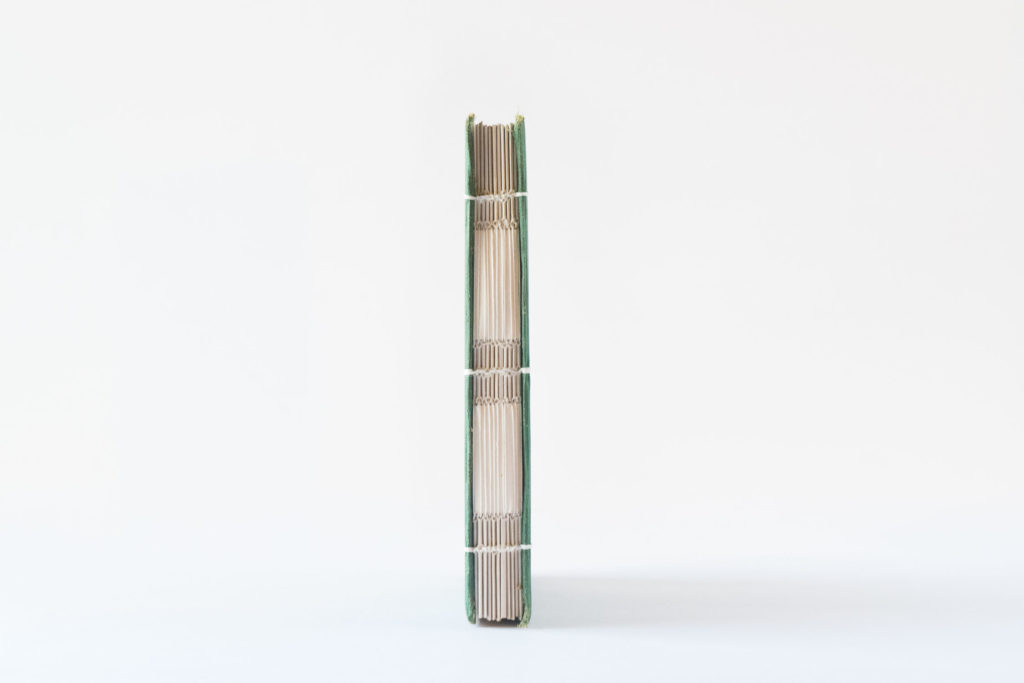
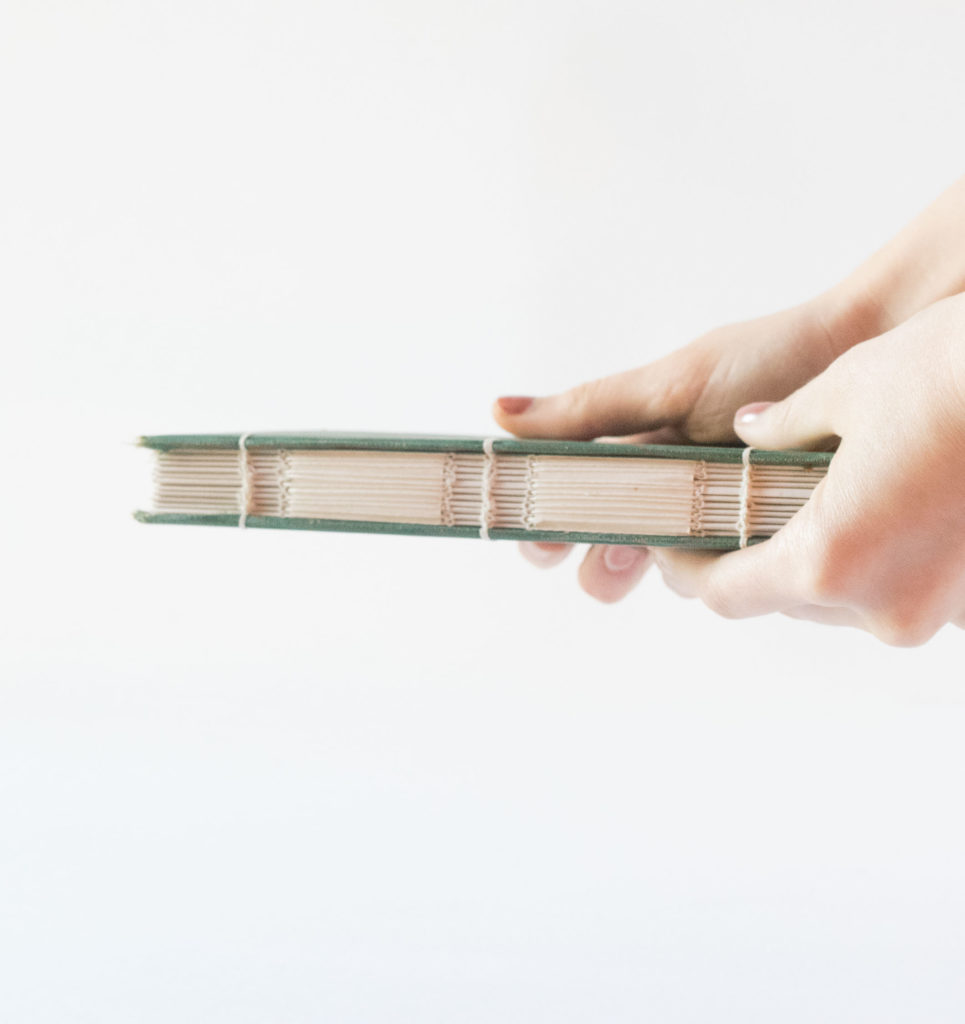
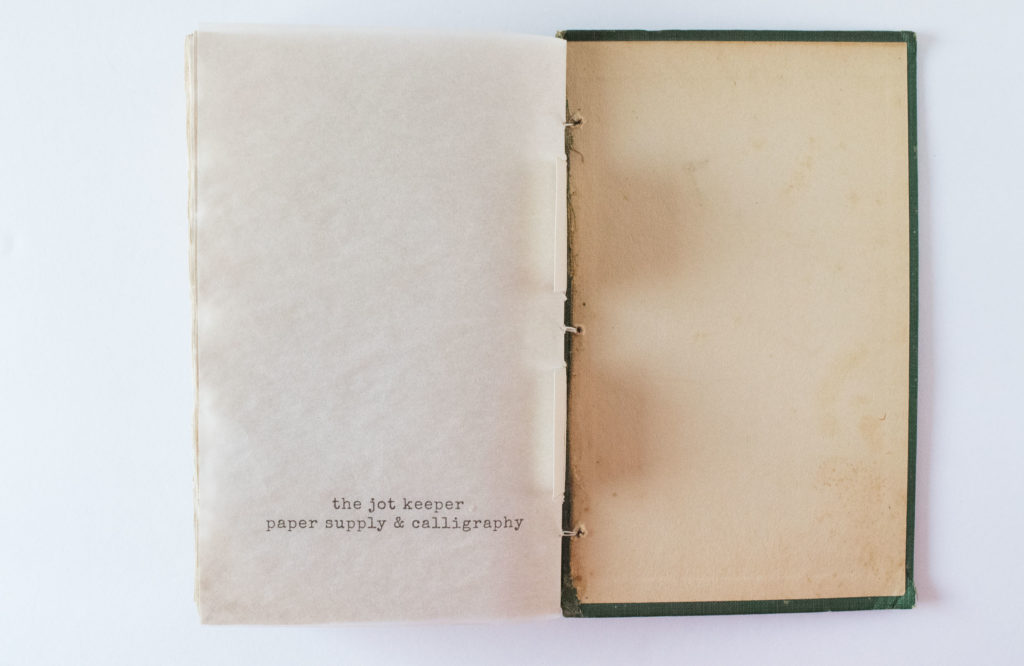
By using a series of stitches, section by section I move along the spine connecting them together. Starting by attaching the back cover to the last signature, then linking all the signatures together (doing a wide stitch around the book tapes, which give the journal extra stability) and working my way all the way up to the first signature and front cover. I do a final stitch, and then push the thread back to the inside and tie it off.At this point, I trim the book tapes to size on the inside, and voila!
The uniqueness of this journal was the personalization my customer requested. For her husband’s 50th birthday, as a gift, she wanted this journal filled with 50, 6-word responses from his family, friends, and colleagues. Between each page she was going to attach small poloroid photos with photo corners.
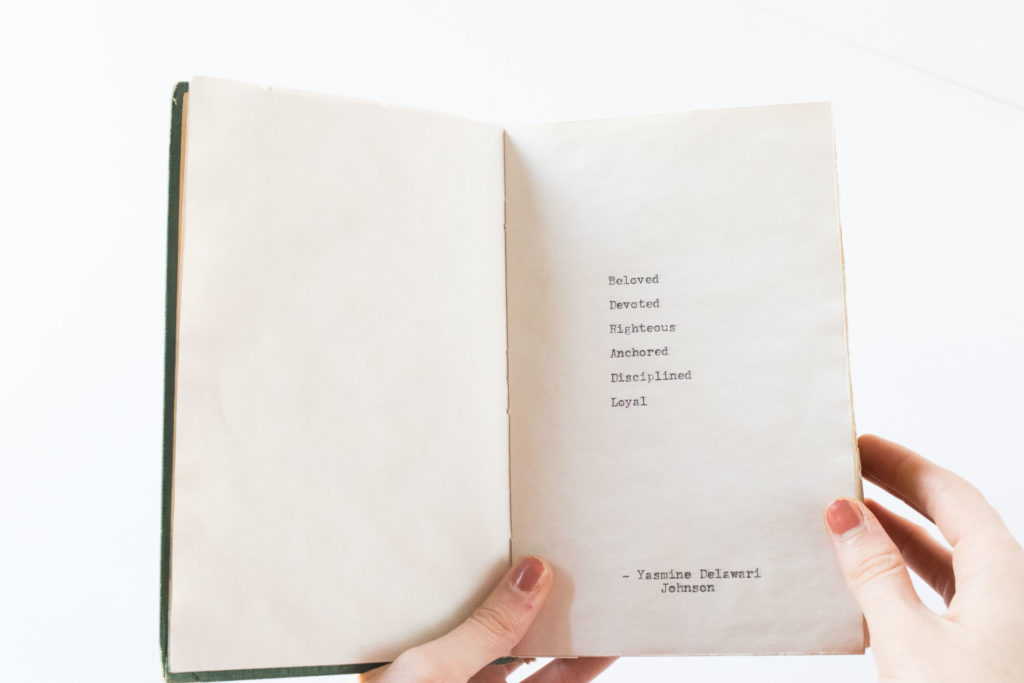
So, I got out my vintage Remington typewriter, and typed out these special responses to turn this book into a keepsake. For privacy sake, I won’t share all of them, but here is one entry from her.
I love how the typewriter contributed to making this project authentically vintage, and the personal touch each response gave.
Overall, I’m just so tickled with the outcome of this project. It was a learning curve in so many ways, but very rewarding and such a great addition to my tool belt and portfolio.
Thanks for reading!
a b b y
P . S . A huge shout out to my husband, Luke, for his help, input, and encouragement on this project. I don’t know what I would do without his super math brain to help me figure out the technical side of this project. <3
Love it all Abby!